Archive | Video blog

Which soldering iron is the best for audio lead repairs?

Most repairs to audio cables require the use of a soldering iron. How do you decide what type of iron to purchase, and how much should you spend?

Read on and you will learn some simple tips to help you. To help answer those two questions for those that just want to simply make or repair an audio lead I will walk you through the different features of some popular soldering irons.

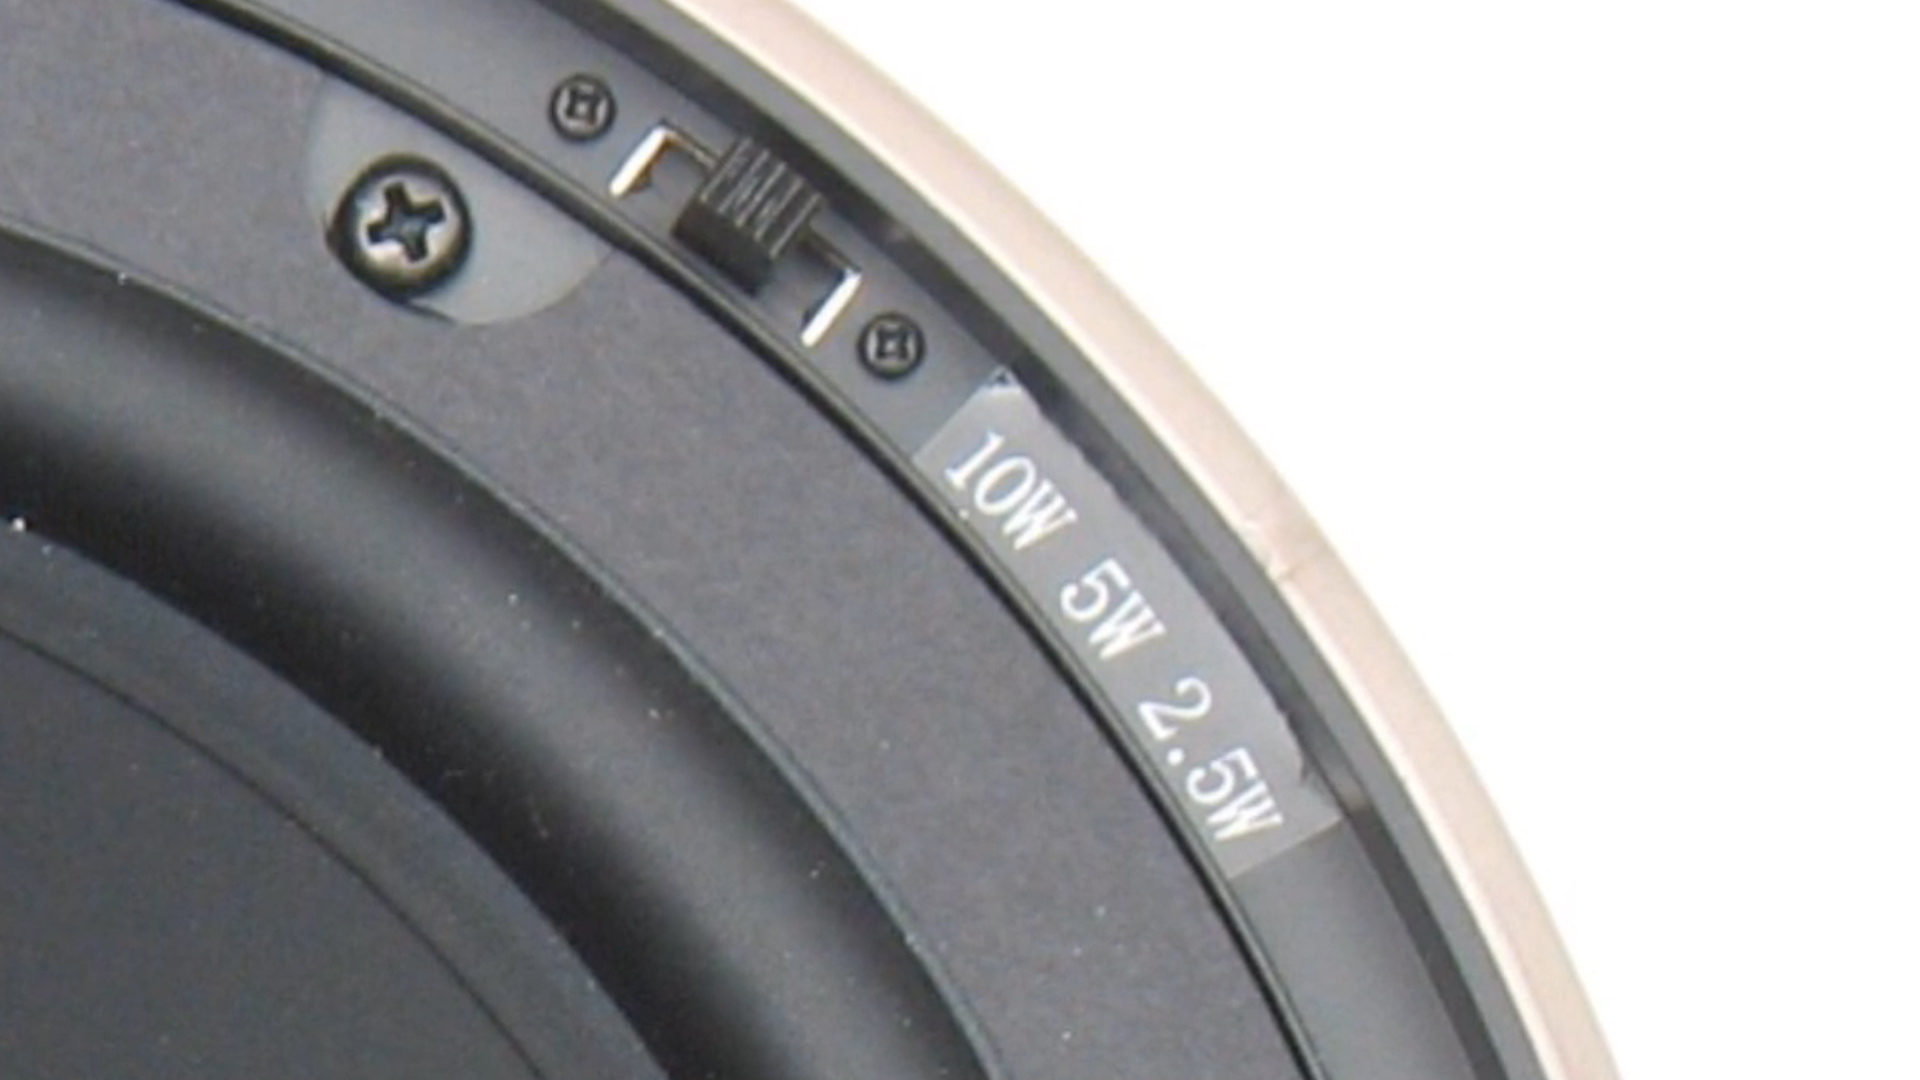
The electrical measurement of wattage is used to give a relative indication of how much heat the soldering iron produces.

General Purpose Iron

General Purpose Iron

Simple guide to heat capacity

To keep it simple a 25 to 40 watt soldering iron are more than adequate for most basic audio lead repairs.

One manufacturer gave a basic suggestion.

  • A 15 watt iron will suit circuit board, micro components and thin wires.
  • A 25 watt iron is good for general audio parts and cables.
  • A 40 watt iron is suited to more automotive size cables and parts.

You can use higher wattage irons as long as the tip of the iron is not too large. These large irons don’t have a place in an audio tech’s tool box.

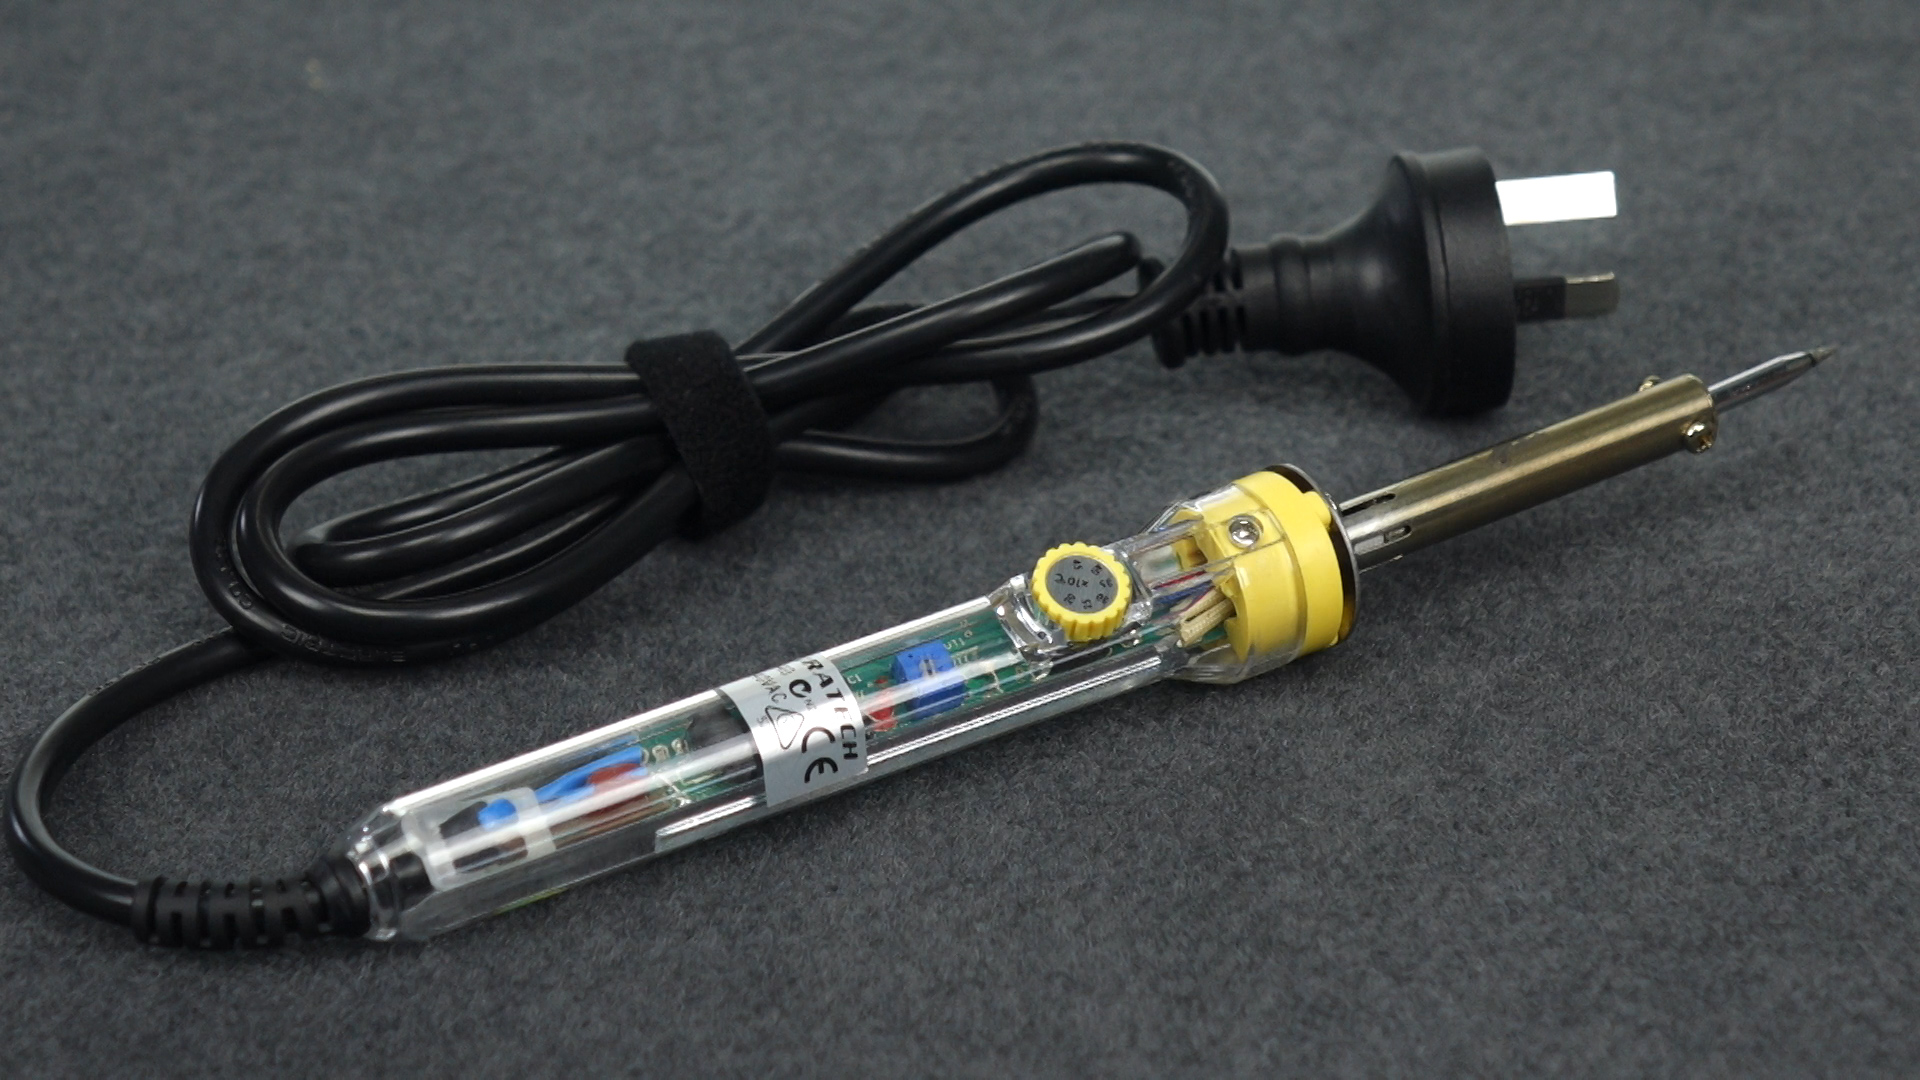
Mains or line powered irons

This general purpose 25 watt iron that you most likely have in your own backyard garage is by far the most popular. It ranges in price from $15 – $50 depending on the brand.

Temperature Controlled

Temperature Controlled

Temperature Controlled

Temperature controlled irons have the added benefit of a thermostat built in to help maintain a steady tip temperature. They are approximately twice the price of the general purpose irons.
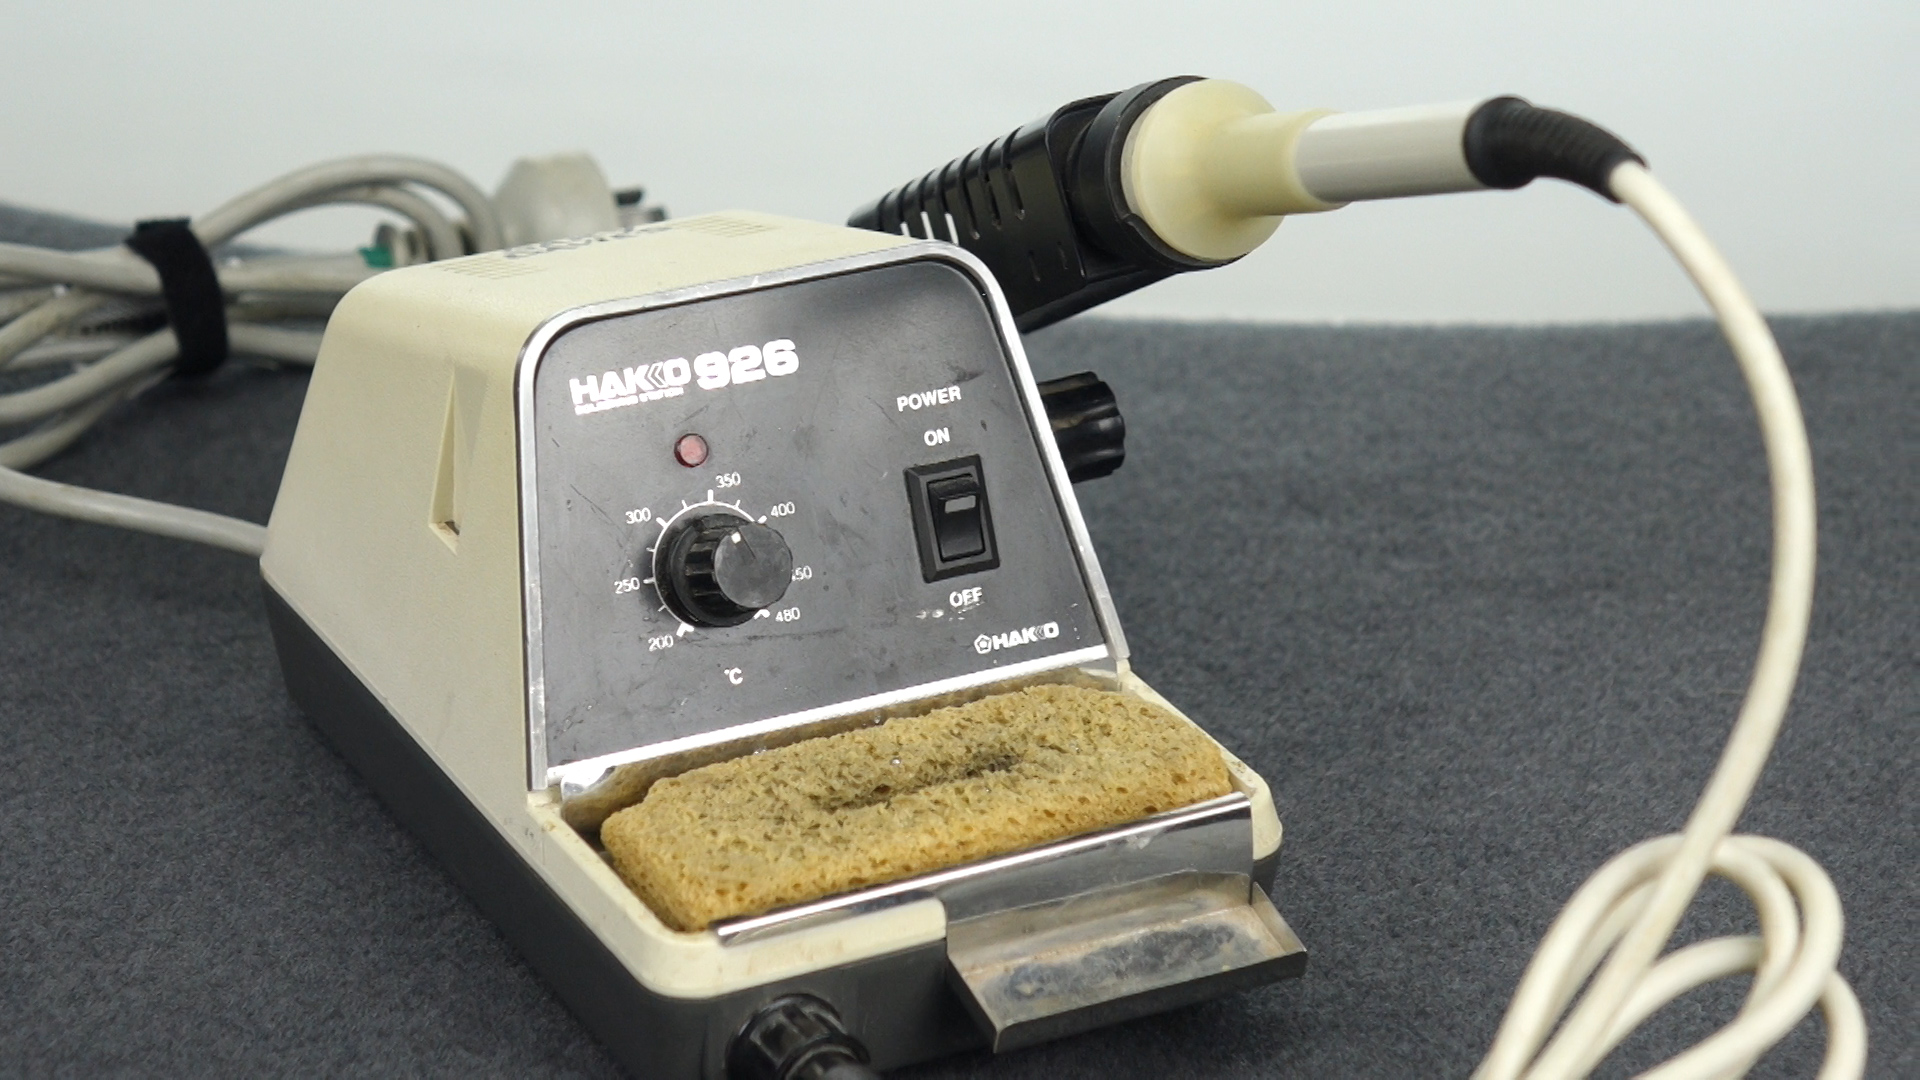
Sequence 01.Still005

Soldering Station


The soldering station typically has an handpiece stand and has an adjustable thermostat with temperature control. The station is designed with components that can heat the tip very quickly and keep the tip at a much more regulated temperature. The soldering station ranges in price from $100 – $250.

Cordless

Cordless irons are either powered by battery or butane gas and don’t have the limitation of having to be connected to the household power supply. The battery powered irons have too many limitations to be considered for audio repairs with low wattage heating elements and short charge life that can cause more frustration than anything else.
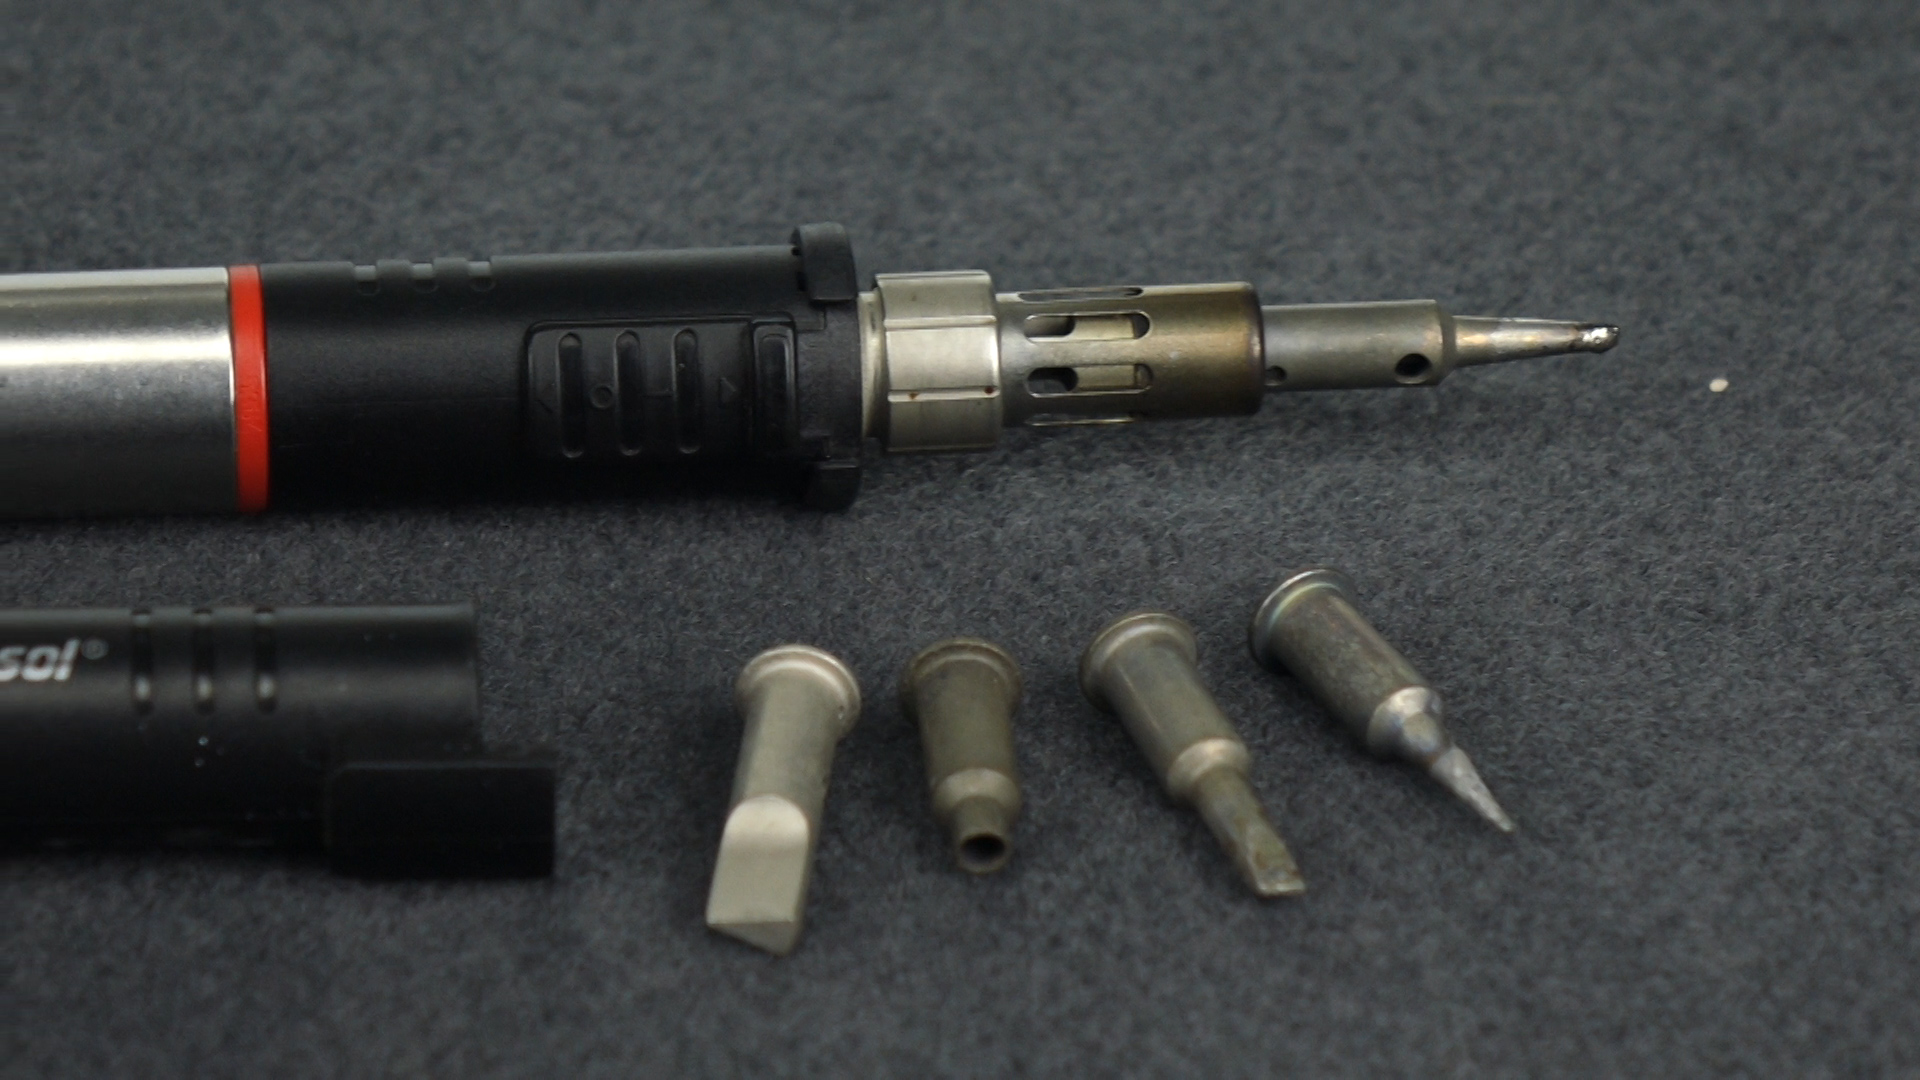
Gas Powered Irons

Gas Powered Irons

On the other hand, gas powered irons come in a variety of styles and are very portable and easy to refill ready for use. Even so they do have the limitation of not being thermostatically controlled and can be a little tricky to maintain a steady tip temperature. Gas powered irons range in price from as little as $25 – $150.

How do you decide what type of iron to purchase for simple audio repairs?

A word of advice: You get what you pay for- after seeing me go through so much frustration trying to save money on tools my mother would say to me, “Just buy the proper thing.” Buy only quality tools because they will be easier to use and do a far better job over a longer period of time.

  • Is the iron a known brand and do they have a selection of products?
  • Does it have a variety of replaceable tips?
  • Can you get spare parts?
  • This should give you an idea if it worth the money.

Ask yourself how much you are going to be using this iron and will portability be an issue.

If you will be near household power, and money is limited, a quality 25 watt general purpose iron is the first choice.

If you can afford to spend more money, a good quality temperature controlled soldering station will give you the best result.

If you want total portability then choose a good quality gas powered iron that has replaceable tips.

Until our next audio tip, stay safe.

Connecting 70/ 100 volt constant voltage speakers

In this short post you’ll learn how to make the connections for a constant voltage speaker system.

Around the 1920’s or 30’s the constant voltage speaker system started to be used and it remains the best way to distribute sound over long cable runs with multiple speakers.

Switchable output

Switchable output

If you don’t have speakers with switchable output levels, setting up ceiling speakers with all these leads can be a bit of a nightmare.

Now this is where some get confused.  There are so many connections or leads you might say “I’m not sure where they all go”.  To make it simple, there are only two leads or connections that you need.

On this speaker the coloured leads or connections vary the output from 2.5, 5, 10 and 15 watts.  If I wanted only 10 watts I would select the common black wire plus the red wire.  Rcoloured wires
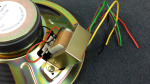
emember that other speakers may not have these colored leads, they may have a terminal block you configure to select the needed output.


A word of warning at this point.

Calculate power

Calculate power

You will need to take note of how much power each speaker is consuming and total these up making sure not to exceed the output of the amplifier so you don’t overload it and cause clipping or distortion.

For example if you selected 10 watts for each speaker and there were 10 of them you would be loading the amp with 100 watts so a 120 watt amplifier would be quite happy.

phase checkAll you need to do now is connect the main feed line to the speaker ensuring that the polarity remains the same relative to the speakers so they are in phase with each other.

Be sure to subscribe to our You tube channel so you can enjoy more simple audio tips.

Audio Feedback- how can I fix it?

All of us have experienced the frustration of not being able to remove ringing, screeching or screaming from from our sound system. No I’m not talking about Uncle John doing her Elvis impersonation, I’m talking about feedback.

What causes feedback and how can I stop it. Read on and you will find out.

What causes feedback?

There is nothing more distracting to a performance or presentation than feedback. Feedback, ringing or howling sounds are generated from the sound system when the sound coming out of the speakers returns back into the mike. Once it begins a cycle it will build it will just get worse. Apart from upsetting your audience it can do irreparable damage to your equipment if not prevented.

How can you setup your equipment to reduce feedback? There are a lot of things you can do during your setup to prevent the annoyance or embarrassment of feedback.

Later in the article I will mention some equipment you can buy to actively try to help eliminate it.position

The best advice that anyone can give you is position, position, position.

Where you position your microphones in relation to your speakers is most important. You need to prevent sound coming from your speakers and going back into the microphone. Obviously you can’t eliminate this altogether because you’re in the same room but you can make every effort to minimize it.

Now remember most of the sound is being emitted from the front of the speaker but don’t be fooled the speaker cabinet is producing a lot of sound as well. This may be hard to believe but all you have to do is feel speakerthe cabinet and if it is vibrating then it is going to emit some sound, mostly low frequencies.

Face the speakers away from the stage and position the mic as far away from the speakers as you can.

Equipment you can buy to reduce or eliminate feedback

The equipment we choose can help to reduce the chance of feedback. Most of us like the idea of using lectern or lapel style condenser microphones that have great pick wherever you are standing but in the light of what we just established you have the problem of sound from the speakers reentering the microphone and we want to reduce the chance of that happening.

deaf side of micChoosing a cardioid microphone would be the best. Simply put, these mics are quite deaf around the back but have good pickup in front. That is why some refer to these as uni directional mikes. When you set up the position of these mics you make sure that the back of the mike is facing the speakers and the area where most of the reflect sound is coming from.

Another big help is if we have a heavy curtain at the back of the stage so that sound is stopped from reflecting off the back wall and straight back into the mike.

Another addition to your sound system may be a graphic equalizer and there are an economical way to balance the sound in a venue.

DBX 231 Twin EQEach room will resonate some frequencies more than others and a graphic equalizer has the function of allowing you to reduce the volume of each of these troublesome frequencies independently.

You can also purchase components to add to your system called Feedback Eliminators but these can be costly and need someone with experience to setup. There are also digital processors available now that analyse the sound entering the microphones and compare it to what is going out of the speakers but they are very costly and are out of the price bracket of most of us.

Keeping it Simple

1. Face the speakers away from the stage
2. Choose the best type of microphone for the job.
3. Position the mic correctly in relation to your speakers
4. Get the microphone as close to the person speaking as possible without causing other problems like popping or breath noises
5. If your budget allows for it- add some good processing equipment to help balance to sound in the room.

If you follow those simple tips you will be able to enjoy the best sound from your equipment without feedback.

Keep your eyes on our blogg for some more simple audio tips

Setup and fit a Lavalier Mic- smartLav+

See what’s in the box, setup and fit the Rode smartLav+ lavalier mic. Lavalier mics are the best way to improve the audio recordings using a smartphone, recorder or DSLR camera. You can get the microphone much closer to the talent.

Setting up a lavalier microphone and connecting it to a camera or smartphone can be the simple fix to improving the quality of your  audio recordings.

plug in lavRODE Microphones have released the smartLav+ an improved version of the very popular smartLav.   I’ve use the smartLav+ microphone because it so versatile in the sense that it can directly connect it to smartphones without extra adaptors but the principles of setting up Lavalier microphones are basically the same.

What you get in the box

In the boxLet’s have a quick walk around the box before I show you how to set up the lavalier and decide where to clip it on for the best recording.

Inside the box you get a storage pouch, mic wind screen. instruction pamphlet and mic clip and the lavalier mic itself.

The new RODE smartlav-plus has a broadcast quality capsule and reinforced cable that’s easy to thread through and hid under clothing. RODE have now implemented a grey sleeve to identify all smartphone style plugs or sockets that are a tip ring ring sleeve configuration.


fit clipHow do you put it together?

Setting up the mic is fairly easy, the instruction leaflet shows this step by step.  To set up the lavalier to clip on from the right hand side, hold the clip in your right hand then open up the mic clasp and feed in the capsule from the bottom. Settle it in the manufactured grooves so it won’t slide out. Fit the windscreen and now your ready to thread the cable into the special groove for strain relief just in case you tugg on the cable.
fit cableOpen up the clip and loop in the cable so it feeds out the top, loop it over and very carefully work the cable into the little groove with your finger nail or credit card- being careful not to damage it. And there you have it your lavelier mike ready to use.


clip to shirtSetting up the mic

Once you have the mic assembled you’re ready to attach it. Discreetly thread the plug and lead through the clothing and clip on the mic. Then drawer out the plug in a place that’s not visible to the camera.
If you are wearing a garment that isn’t clip friendly you can simply tape the mic under the fabric. Make sure that it is secure to minimise movement. RODE microphones even make a special mount for this mike called an invisilav to assist in discreetly mounting it under or on your body. If it is not necessary to hide the mic under fabric, don’t.

Where to clip the mic

The position of the mic can vary considering a number of factors.  If there is a lot of noise in the room you may need to lift the position of mic and if the person tends to move their head up and down you may need to drop the mic a little to get a more even recording.  In some situations the lavalier mic may not be the best option at all because of loud background noise. You may have to choose a headset type microphone.

Do a test recording to see that the mic is not distorting or popping and you then be ready for a final recordings.

Powered by WordPress. Designed by Woo Themes