In this short post you’ll learn how to make the connections for a constant voltage speaker system.
Around the 1920’s or 30’s the constant voltage speaker system started to be used and it remains the best way to distribute sound over long cable runs with multiple speakers.
Switchable output
If you don’t have speakers with switchable output levels, setting up ceiling speakers with all these leads can be a bit of a nightmare.
Now this is where some get confused. There are so many connections or leads you might say “I’m not sure where they all go”. To make it simple, there are only two leads or connections that you need.
On this speaker the coloured leads or connections vary the output from 2.5, 5, 10 and 15 watts. If I wanted only 10 watts I would select the common black wire plus the red wire. Remember that other speakers may not have these colored leads, they may have a terminal block you configure to select the needed output.
A word of warning at this point.
Calculate power
You will need to take note of how much power each speaker is consuming and total these up making sure not to exceed the output of the amplifier so you don’t overload it and cause clipping or distortion.
For example if you selected 10 watts for each speaker and there were 10 of them you would be loading the amp with 100 watts so a 120 watt amplifier would be quite happy.
All you need to do now is connect the main feed line to the speaker ensuring that the polarity remains the same relative to the speakers so they are in phase with each other.
Be sure to subscribe to our You tube channel so you can enjoy more simple audio tips.
All of us have experienced the frustration of not being able to remove ringing, screeching or screaming from from our sound system. No I’m not talking about Uncle John doing her Elvis impersonation, I’m talking about feedback.
What causes feedback and how can I stop it. Read on and you will find out.
What causes feedback?
There is nothing more distracting to a performance or presentation than feedback. Feedback, ringing or howling sounds are generated from the sound system when the sound coming out of the speakers returns back into the mike. Once it begins a cycle it will build it will just get worse. Apart from upsetting your audience it can do irreparable damage to your equipment if not prevented.
How can you setup your equipment to reduce feedback? There are a lot of things you can do during your setup to prevent the annoyance or embarrassment of feedback.
Later in the article I will mention some equipment you can buy to actively try to help eliminate it.
The best advice that anyone can give you is position, position, position.
Where you position your microphones in relation to your speakers is most important. You need to prevent sound coming from your speakers and going back into the microphone. Obviously you can’t eliminate this altogether because you’re in the same room but you can make every effort to minimize it.
Now remember most of the sound is being emitted from the front of the speaker but don’t be fooled the speaker cabinet is producing a lot of sound as well. This may be hard to believe but all you have to do is feel the cabinet and if it is vibrating then it is going to emit some sound, mostly low frequencies.
Face the speakers away from the stage and position the mic as far away from the speakers as you can.
Equipment you can buy to reduce or eliminate feedback
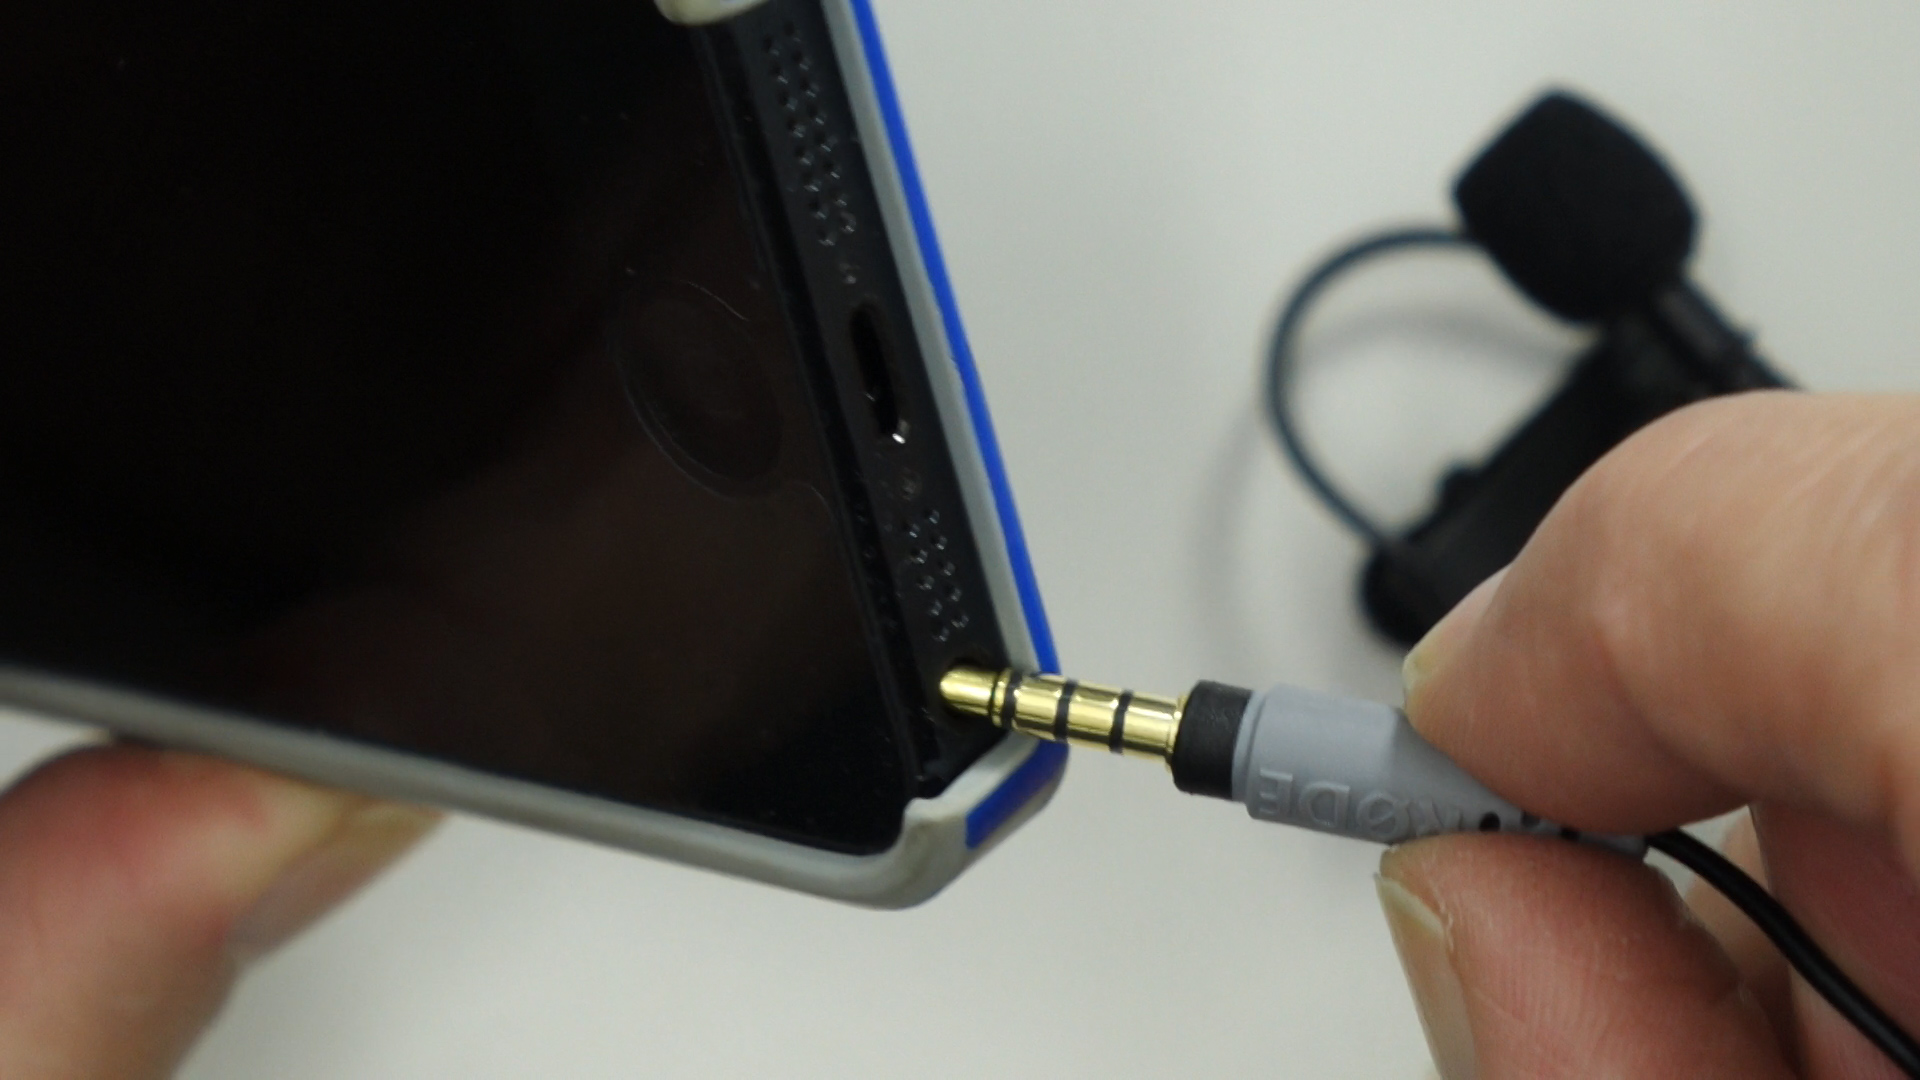
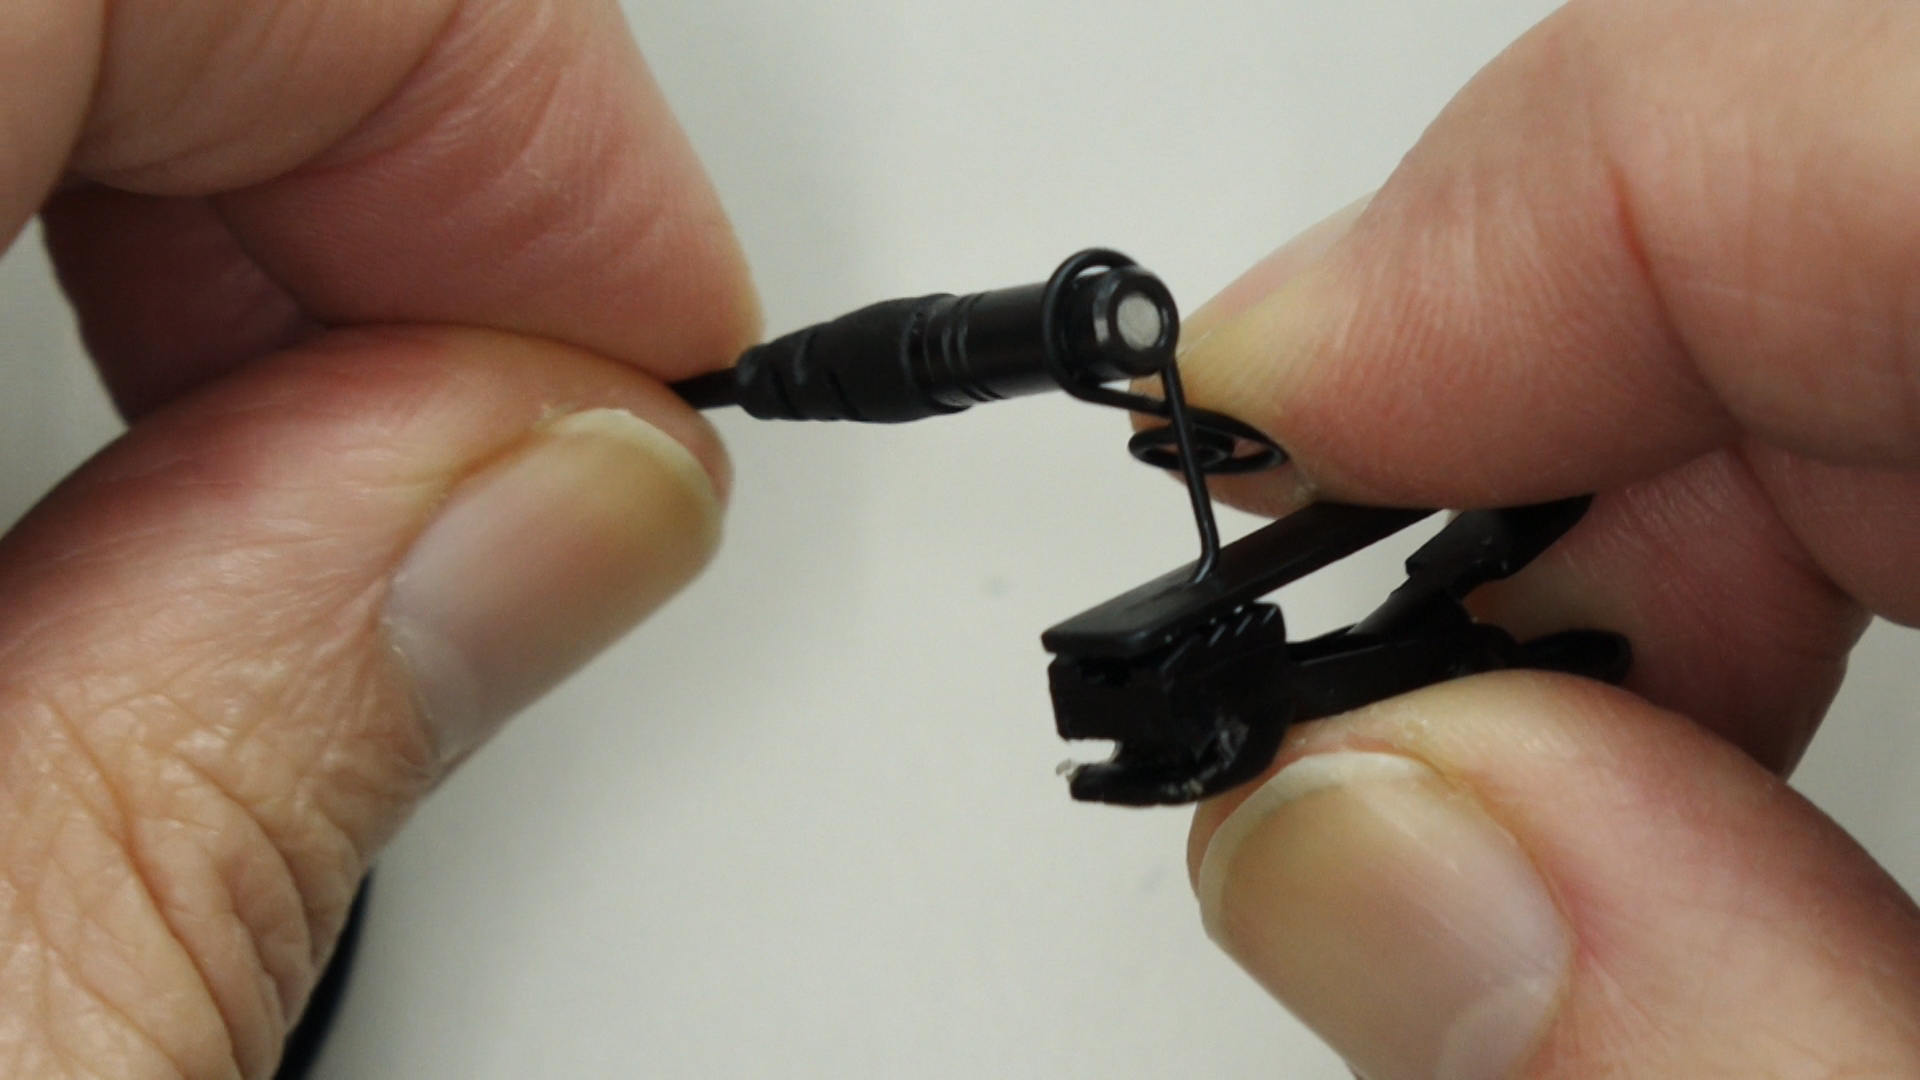
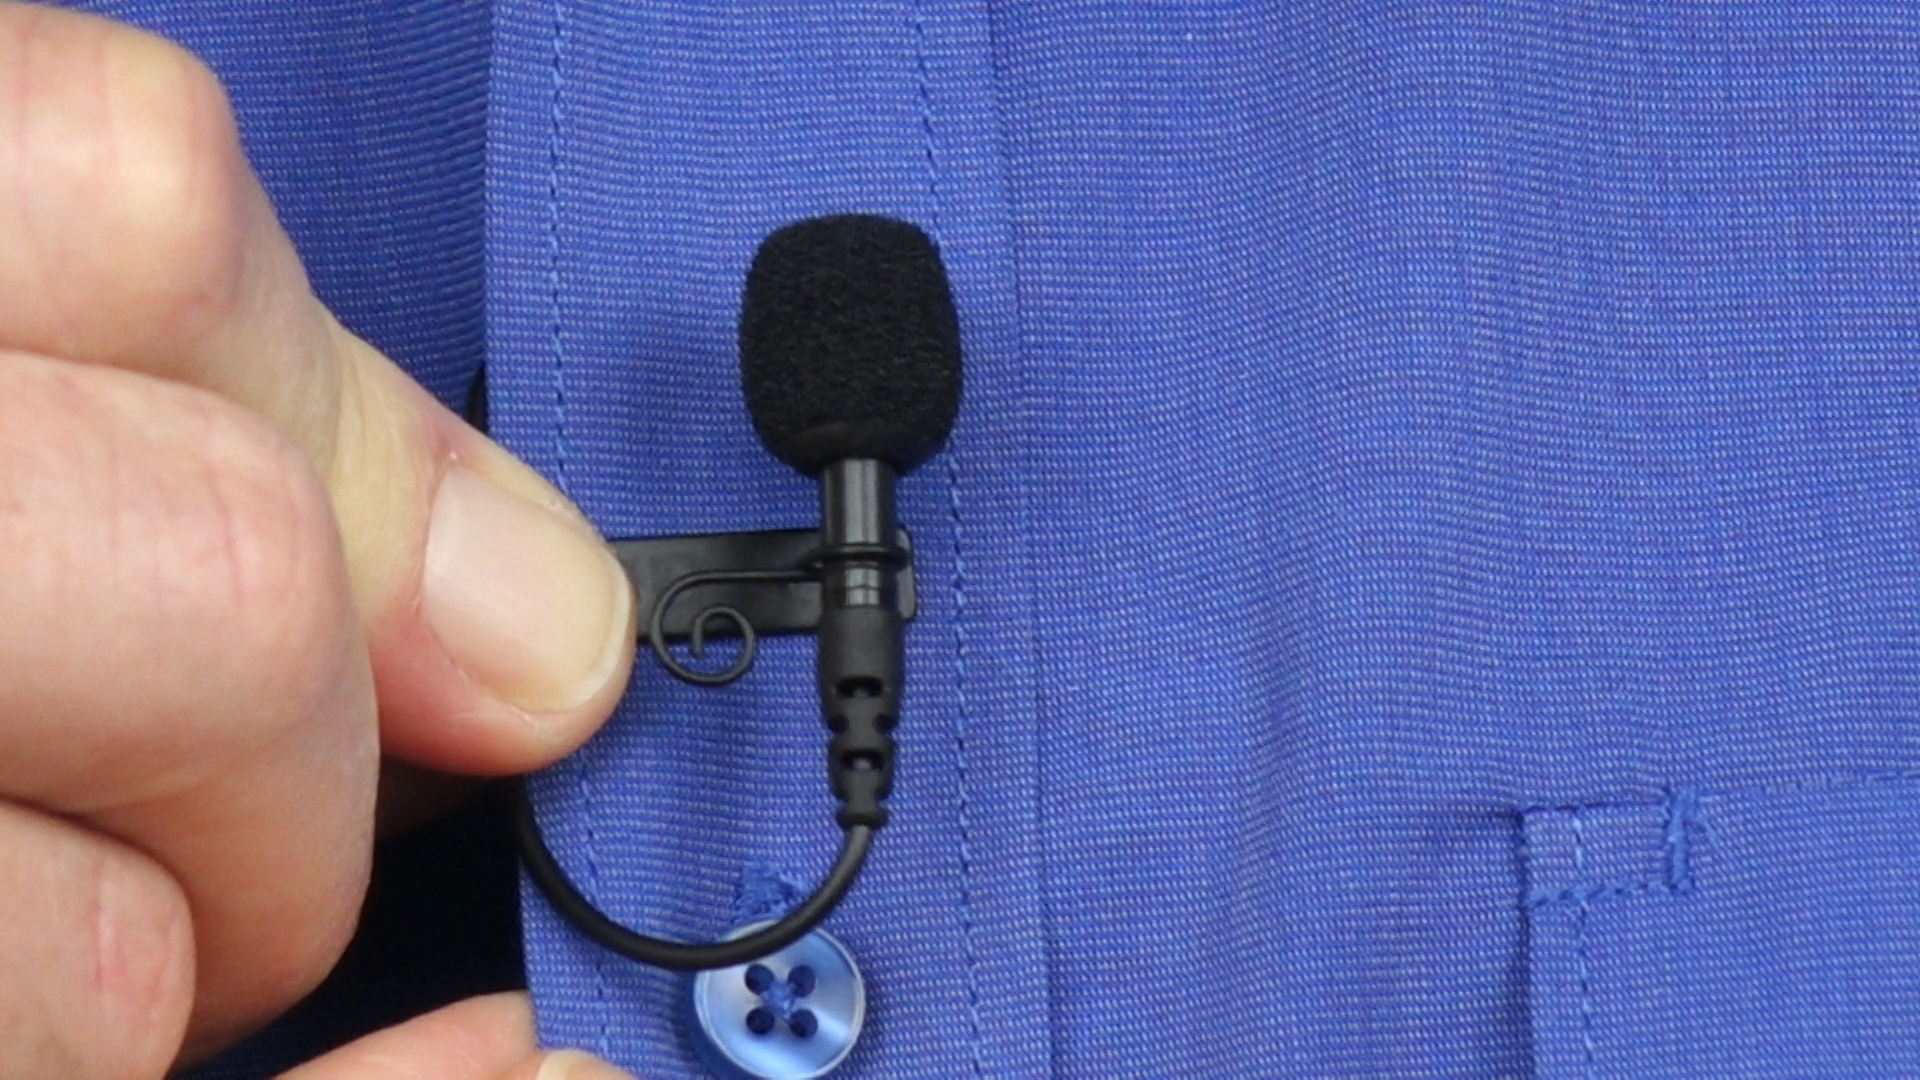
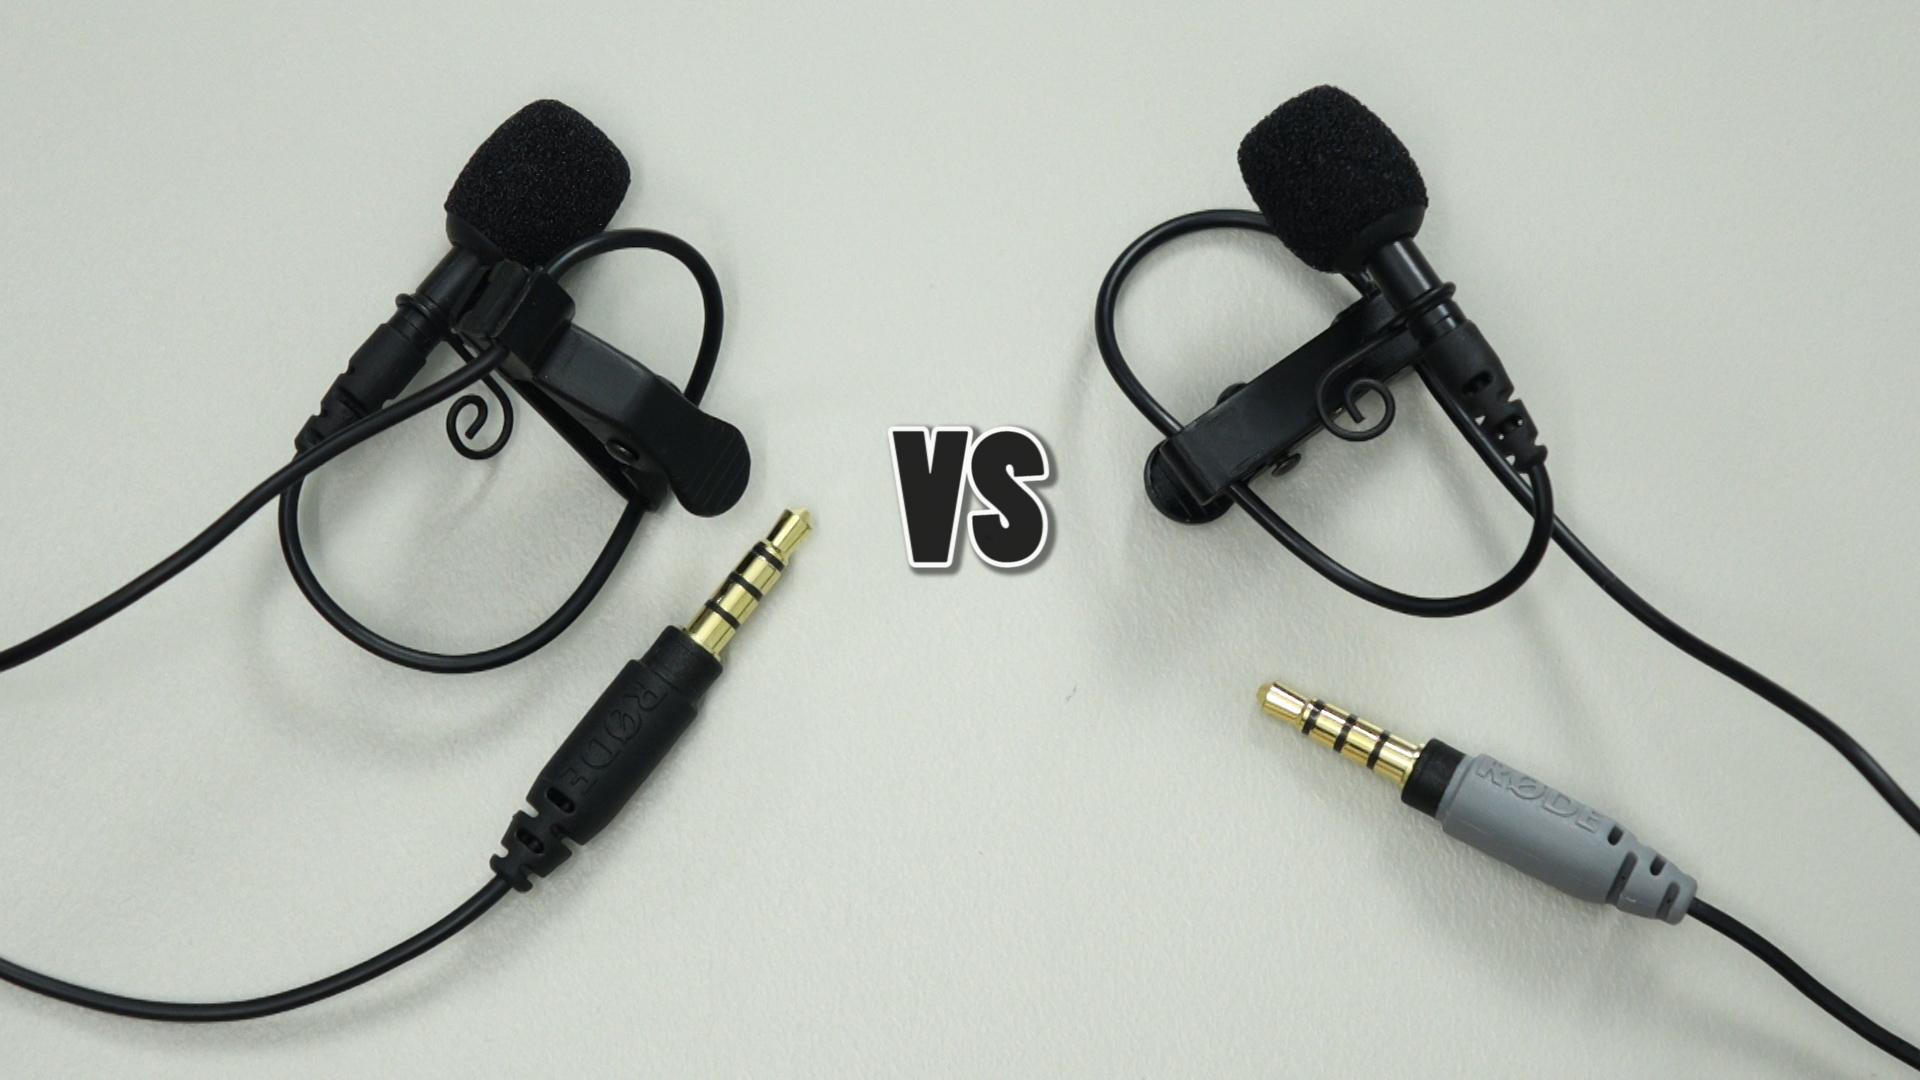
The equipment we choose can help to reduce the chance of feedback. Most of us like the idea of using lectern or lapel style condenser microphones that have great pick wherever you are standing but in the light of what we just established you have the problem of sound from the speakers reentering the microphone and we want to reduce the chance of that happening.
Choosing a cardioid microphone would be the best. Simply put, these mics are quite deaf around the back but have good pickup in front. That is why some refer to these as uni directional mikes. When you set up the position of these mics you make sure that the back of the mike is facing the speakers and the area where most of the reflect sound is coming from.
Another big help is if we have a heavy curtain at the back of the stage so that sound is stopped from reflecting off the back wall and straight back into the mike.
Another addition to your sound system may be a graphic equalizer and there are an economical way to balance the sound in a venue.
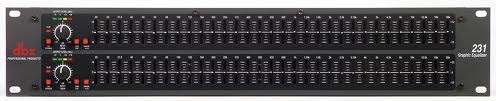
Each room will resonate some frequencies more than others and a graphic equalizer has the function of allowing you to reduce the volume of each of these troublesome frequencies independently.
You can also purchase components to add to your system called Feedback Eliminators but these can be costly and need someone with experience to setup. There are also digital processors available now that analyse the sound entering the microphones and compare it to what is going out of the speakers but they are very costly and are out of the price bracket of most of us.
Keeping it Simple
1. Face the speakers away from the stage
2. Choose the best type of microphone for the job.
3. Position the mic correctly in relation to your speakers
4. Get the microphone as close to the person speaking as possible without causing other problems like popping or breath noises
5. If your budget allows for it- add some good processing equipment to help balance to sound in the room.
If you follow those simple tips you will be able to enjoy the best sound from your equipment without feedback.
Keep your eyes on our blogg for some more simple audio tips
See what’s in the box, setup and fit the Rode smartLav+ lavalier mic. Lavalier mics are the best way to improve the audio recordings using a smartphone, recorder or DSLR camera. You can get the microphone much closer to the talent.
Setting up a lavalier microphone and connecting it to a camera or smartphone can be the simple fix to improving the quality of your audio recordings.
RODE Microphones have released the smartLav+ an improved version of the very popular smartLav. I’ve use the smartLav+ microphone because it so versatile in the sense that it can directly connect it to smartphones without extra adaptors but the principles of setting up Lavalier microphones are basically the same.
What you get in the box
Let’s have a quick walk around the box before I show you how to set up the lavalier and decide where to clip it on for the best recording.
Inside the box you get a storage pouch, mic wind screen. instruction pamphlet and mic clip and the lavalier mic itself.
The new RODE smartlav-plus has a broadcast quality capsule and reinforced cable that’s easy to thread through and hid under clothing. RODE have now implemented a grey sleeve to identify all smartphone style plugs or sockets that are a tip ring ring sleeve configuration.
How do you put it together?
Setting up the mic is fairly easy, the instruction leaflet shows this step by step. To set up the lavalier to clip on from the right hand side, hold the clip in your right hand then open up the mic clasp and feed in the capsule from the bottom. Settle it in the manufactured grooves so it won’t slide out. Fit the windscreen and now your ready to thread the cable into the special groove for strain relief just in case you tugg on the cable. Open up the clip and loop in the cable so it feeds out the top, loop it over and very carefully work the cable into the little groove with your finger nail or credit card- being careful not to damage it. And there you have it your lavelier mike ready to use.
Setting up the mic
Once you have the mic assembled you’re ready to attach it. Discreetly thread the plug and lead through the clothing and clip on the mic. Then drawer out the plug in a place that’s not visible to the camera.
If you are wearing a garment that isn’t clip friendly you can simply tape the mic under the fabric. Make sure that it is secure to minimise movement. RODE microphones even make a special mount for this mike called an invisilav to assist in discreetly mounting it under or on your body. If it is not necessary to hide the mic under fabric, don’t.
Where to clip the mic
The position of the mic can vary considering a number of factors. If there is a lot of noise in the room you may need to lift the position of mic and if the person tends to move their head up and down you may need to drop the mic a little to get a more even recording. In some situations the lavalier mic may not be the best option at all because of loud background noise. You may have to choose a headset type microphone.
Do a test recording to see that the mic is not distorting or popping and you then be ready for a final recordings.
This video compares the two mics using a simple bench test. The Rode smartLav+ lavalier microphone is an improved version of the original smartLav. How much better is it, and are there improvements to the noise floor level that many have commented on?
The original RODE smartLav mic is a good lavalier mic but it does have the disadvantage of having a high noise floor. By comparing the original and the new smartLav+ we should be able to find out if it is worth spending a little more money and getting the improved version.
Comparing the two mikes it is obvious that there is not a lot of difference. They both have the same clips and windscreens, the cables are similar and the retaining clip is the same. One thing that is very different is the color of the plug. RODE have chosen to color code their plugs that are a tip ring ring sleeve configuration and make them gray in color. The male and female plugs and sockets will now be gray so that it is easy to identify the style of connection.
The major difference is that the mic capsule is now of broadcast quality. So the quality of audio will be significantly improved. This will make a good mic into a great mic if it works out to be the improvement that RODE would like us to believe. The box contains or the same material as the previous model.
What’s in the box
How did the test go?
Putting the mics to the test using the RODE Rec app for a recorder should give us a good measurement of if the background noise has improved at all with the new model.
To do this I have set up each mic for a recording using the same parameters. As you can see from the screenshot there is a considerable difference between the two mics.
There is no doubt at all that the RODE smartLav-Plus lavalier mic is a real improvement over it’s predecessor and is definitely worth the little extra money. For under $100 the microphone is a great option for those that just want to plug their mic into a smartphone without the need for adapters. The mike can be used with DSLR cameras but you would have to use the adapter to plug it into a tip ring sleeve socket on the camera.