See what’s in the box, setup and fit the Rode smartLav+ lavalier mic. Lavalier mics are the best way to improve the audio recordings using a smartphone, recorder or DSLR camera. You can get the microphone much closer to the talent.
Setting up a lavalier microphone and connecting it to a camera or smartphone can be the simple fix to improving the quality of your audio recordings.
 RODE Microphones have released the smartLav+ an improved version of the very popular smartLav. I’ve use the smartLav+ microphone because it so versatile in the sense that it can directly connect it to smartphones without extra adaptors but the principles of setting up Lavalier microphones are basically the same.
What you get in the box
 Let’s have a quick walk around the box before I show you how to set up the lavalier and decide where to clip it on for the best recording.
Inside the box you get a storage pouch, mic wind screen. instruction pamphlet and mic clip and the lavalier mic itself.
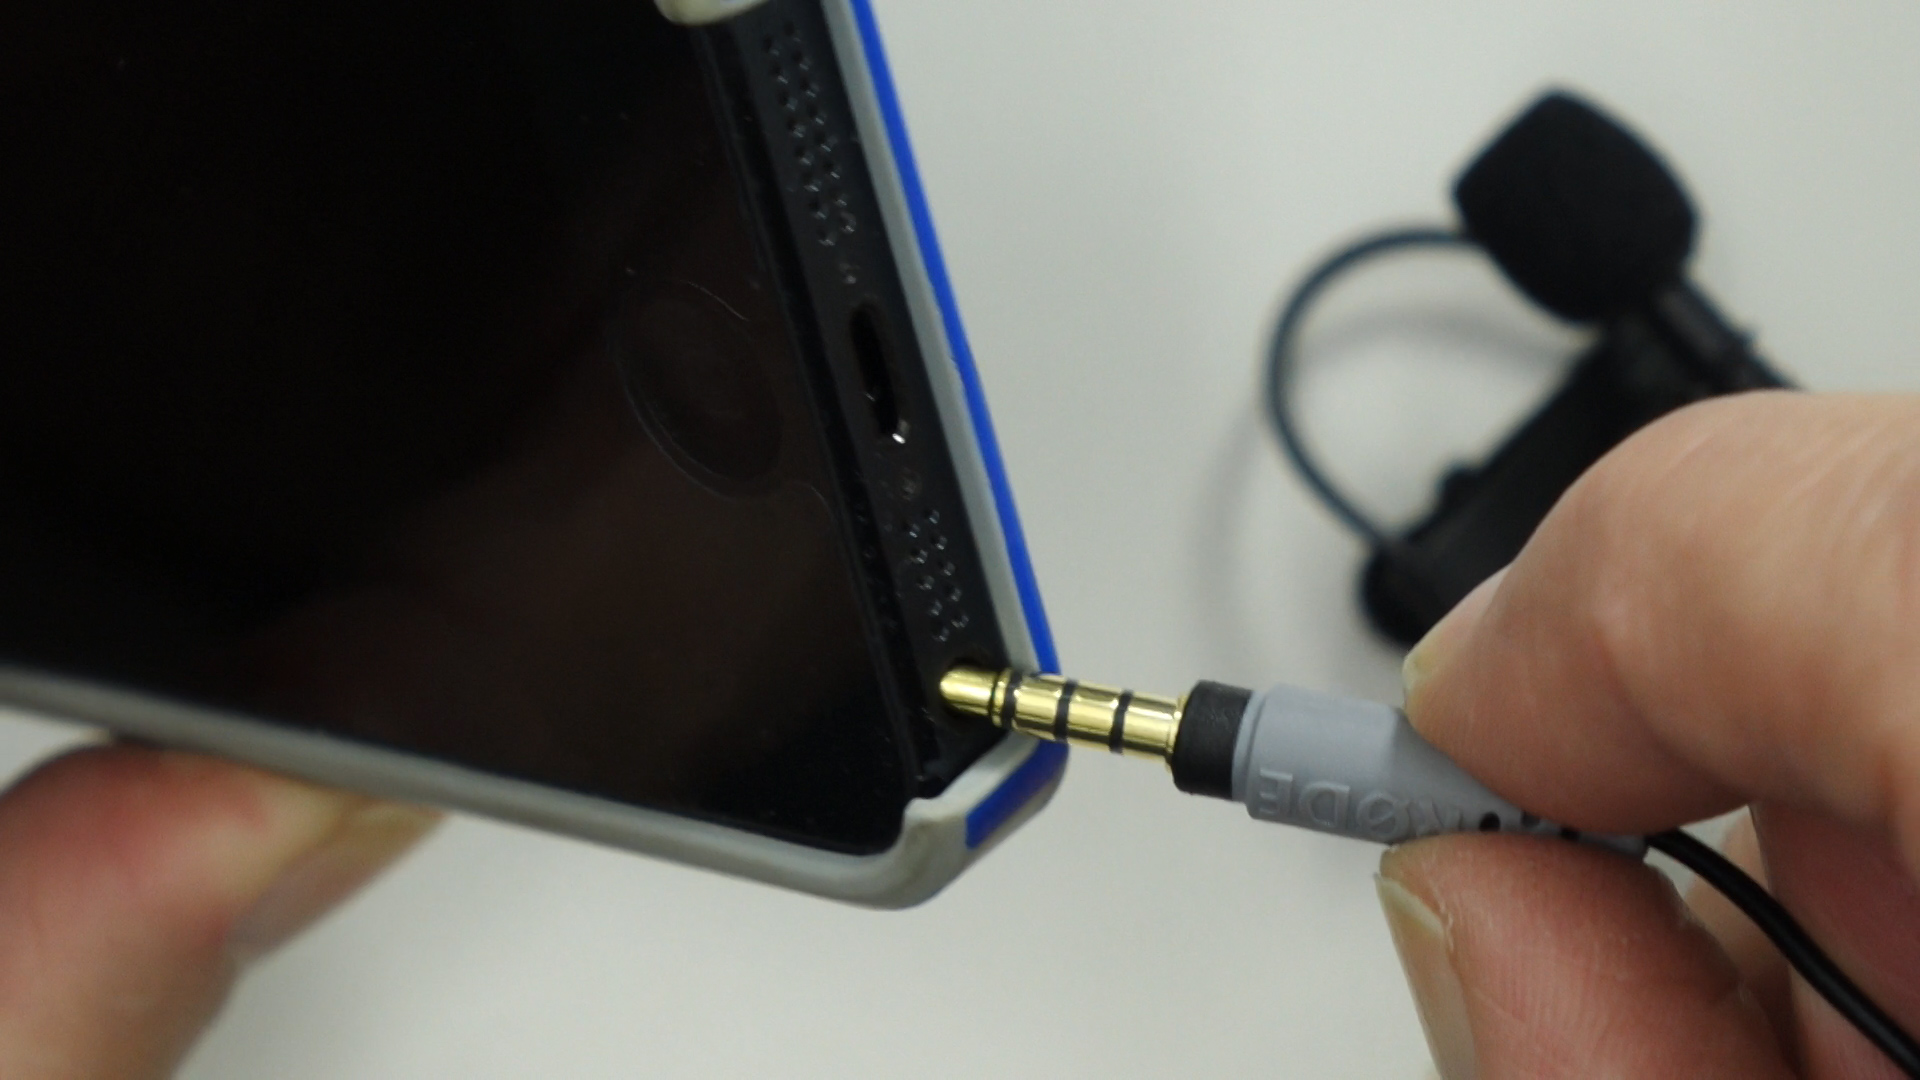
The new RODE smartlav-plus has a broadcast quality capsule and reinforced cable that’s easy to thread through and hid under clothing. RODE have now implemented a grey sleeve to identify all smartphone style plugs or sockets that are a tip ring ring sleeve configuration.
 How do you put it together?
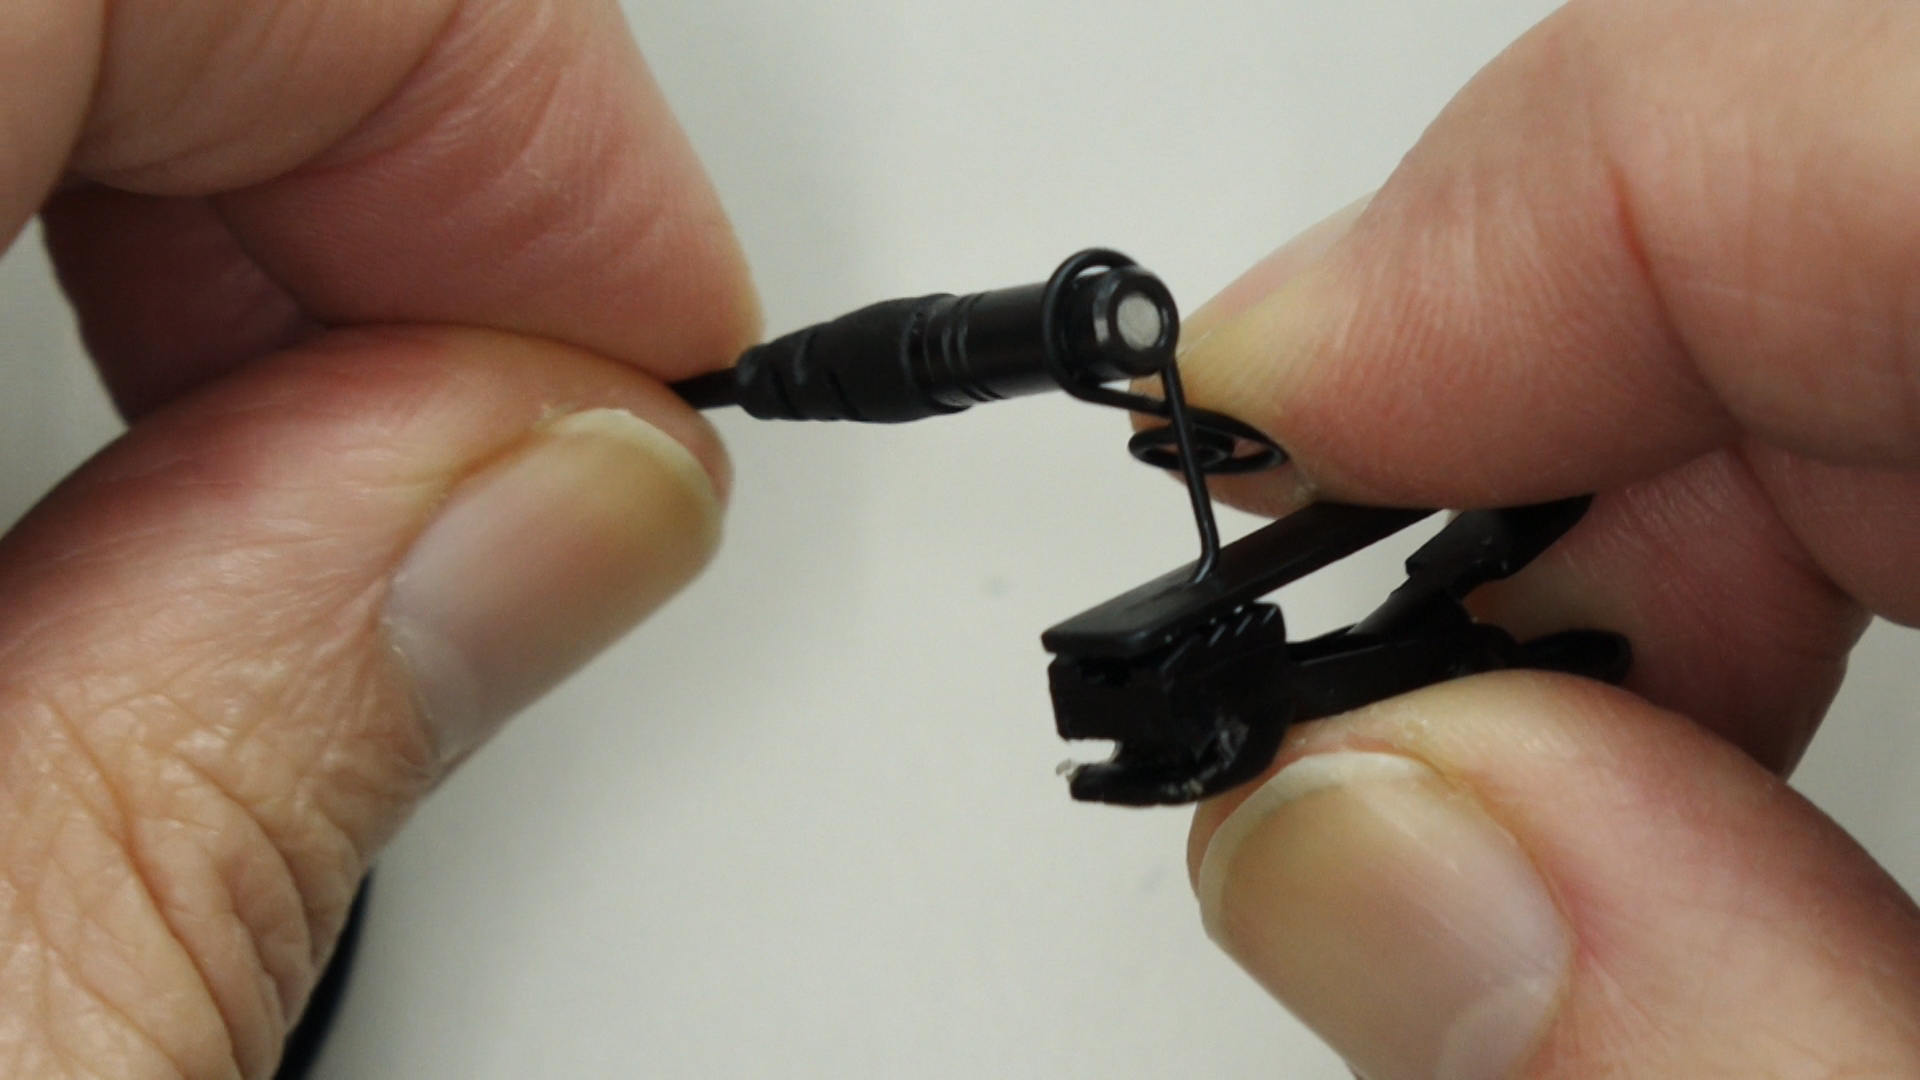
Setting up the mic is fairly easy, the instruction leaflet shows this step by step. To set up the lavalier to clip on from the right hand side, hold the clip in your right hand then open up the mic clasp and feed in the capsule from the bottom. Settle it in the manufactured grooves so it won’t slide out. Fit the windscreen and now your ready to thread the cable into the special groove for strain relief just in case you tugg on the cable.
 Open up the clip and loop in the cable so it feeds out the top, loop it over and very carefully work the cable into the little groove with your finger nail or credit card- being careful not to damage it. And there you have it your lavelier mike ready to use.
 Setting up the mic
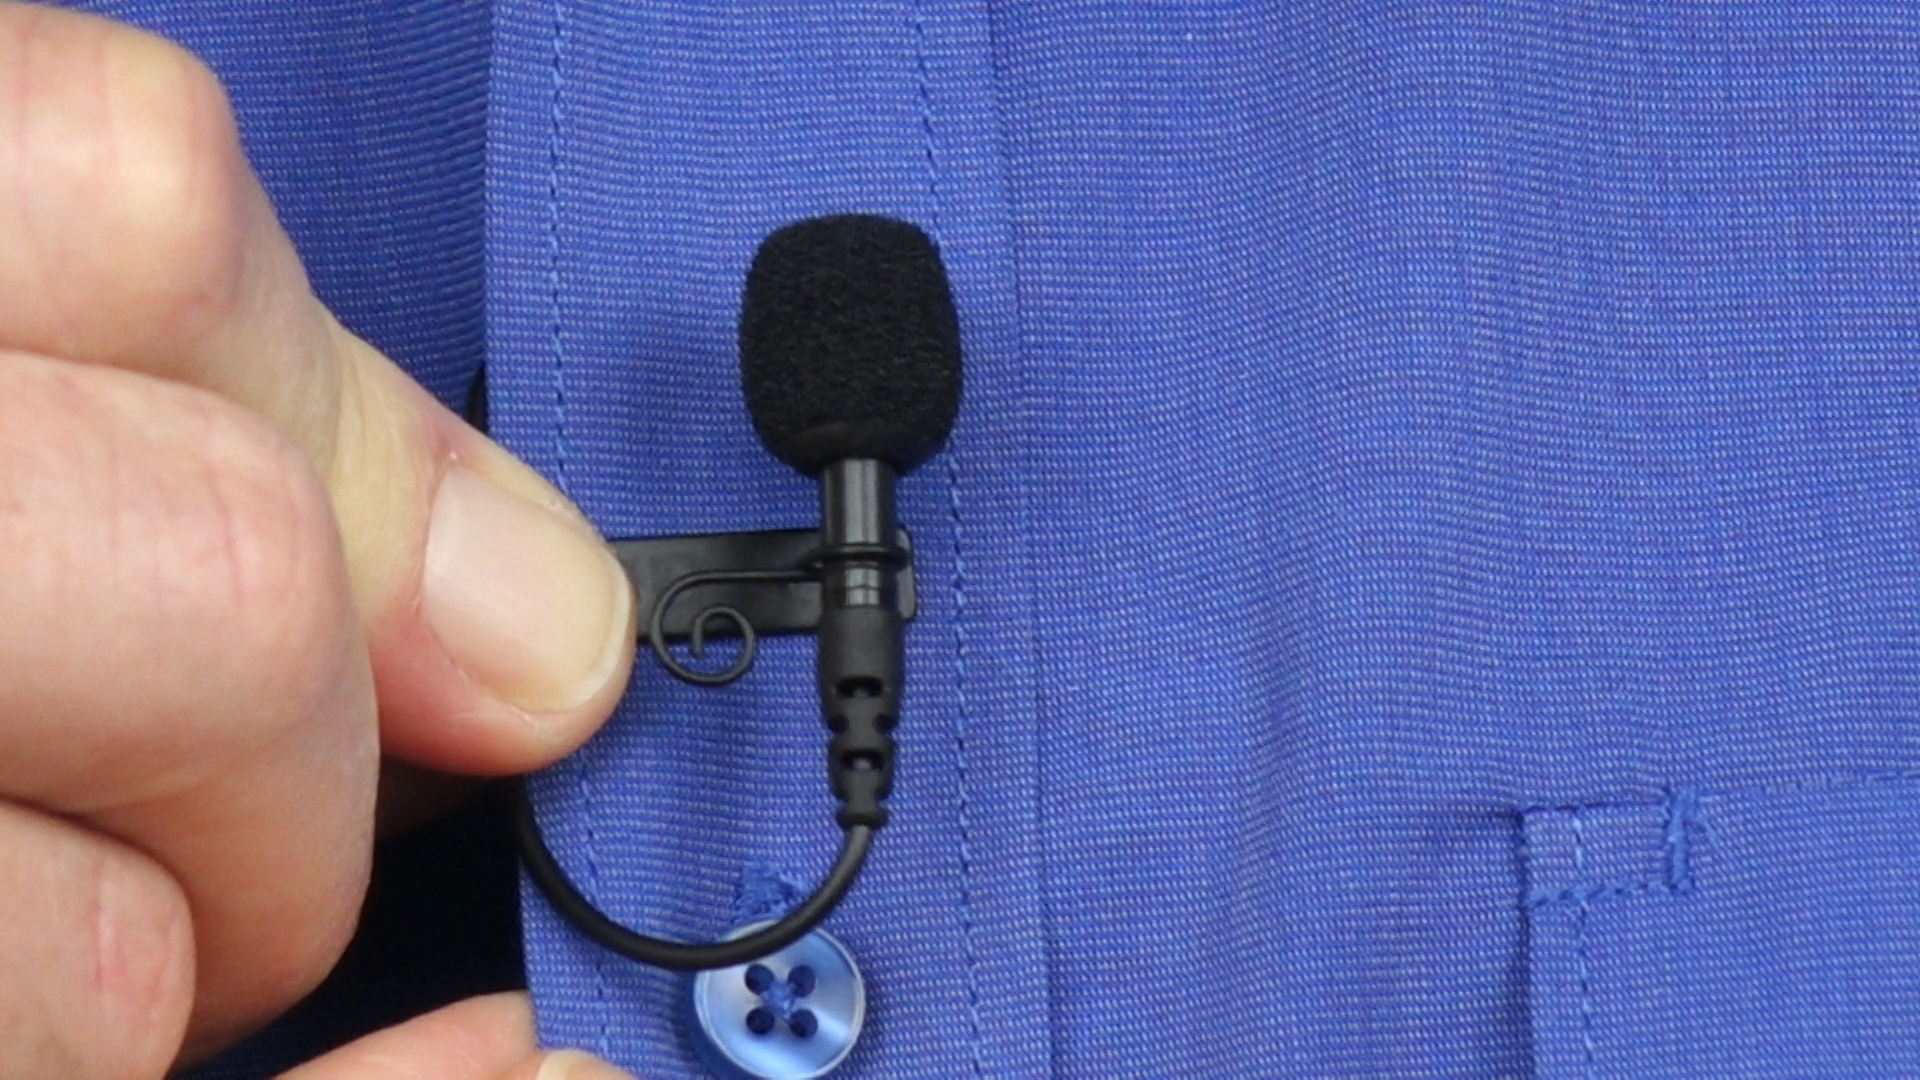
Once you have the mic assembled you’re ready to attach it. Discreetly thread the plug and lead through the clothing and clip on the mic. Then drawer out the plug in a place that’s not visible to the camera.
If you are wearing a garment that isn’t clip friendly you can simply tape the mic under the fabric. Make sure that it is secure to minimise movement. RODE microphones even make a special mount for this mike called an invisilav to assist in discreetly mounting it under or on your body. If it is not necessary to hide the mic under fabric, don’t.
Where to clip the mic
The position of the mic can vary considering a number of factors. If there is a lot of noise in the room you may need to lift the position of mic and if the person tends to move their head up and down you may need to drop the mic a little to get a more even recording. In some situations the lavalier mic may not be the best option at all because of loud background noise. You may have to choose a headset type microphone.
Do a test recording to see that the mic is not distorting or popping and you then be ready for a final recordings.